
The very first thing that comes into our mind when we think of site is data, and when we think about data, we immediately wonder about data management and data security! And a WordPress site has mass data stored.

As WordPress is currently the hottest CMS, the threat to its security is real. So the first order of business to ensure security and protection by Automated Backup and a way to restore the backup if needed.
This guide is about how to backup wordPress using a step by step guide using UpdraftPlus.
UpdraftPlus, a WordPress plugin is an excellent tool to help you backup wordPress and restore it.
To backup WordPress, multiple ways can be followed. We will explore one of the ways in this guide.
- Creating manual WordPress backup
- Through hosting provider
- Using backup plugins
If you’re thinking what a nuisance all this sounds like, why should I even bother with backups then think Again. Research shows that global economy suffers a staggering annual cost of $1.7 due to data loss.
Each site is vulnerable to data loss and security threats. Some ways you might end up losing data is if you get hacked, if there’s an issue with the hosting providers or if the host decides to act on their right to delete all your data by terminating your account.
The best protection against these threats is regular wordPress backup.
STEP 01: Install and setup UpdraftPlus
Go to the dashboard. Click on Plugins and then click on Add New.
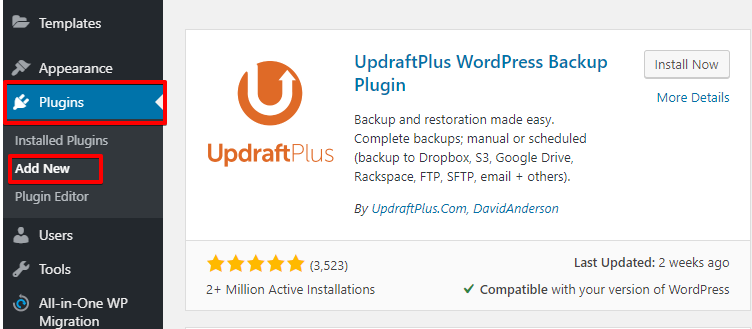
Locate the plugin by typing UpdraftPlus in the search bar. Then click the ‘Install Now’ button. The plugin will be installed for you.
[elementor-template id="8247"]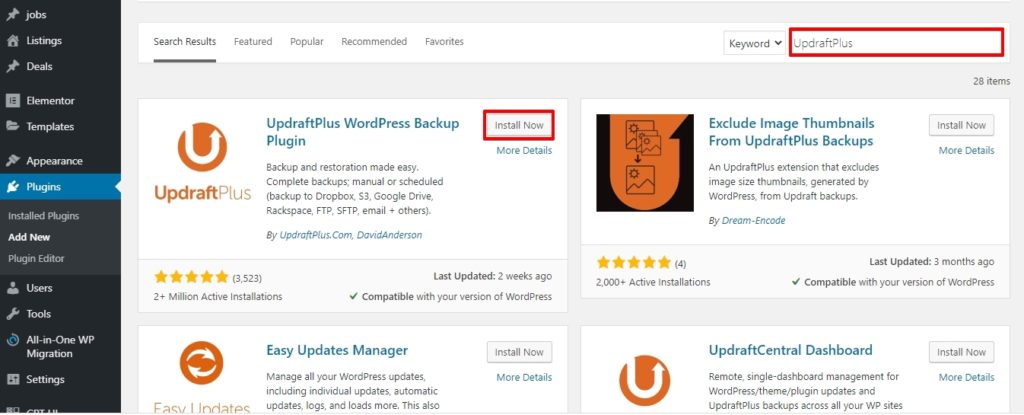
A WordPress plugin has to be activated. Go to Plugins, then click on Installed Plugins. A list of all plugins will be displayed.
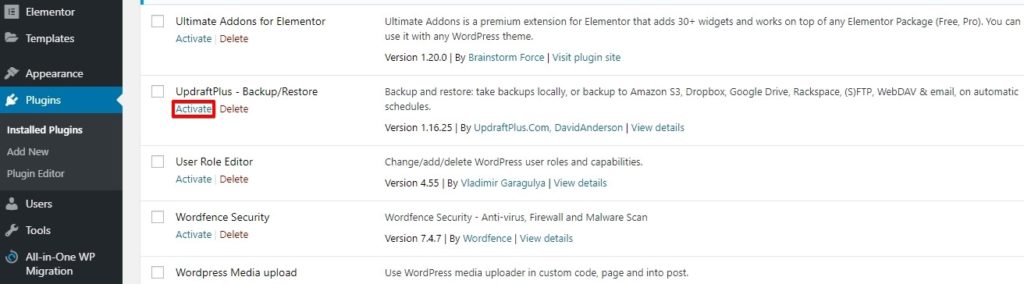
So click on activate. Your UpdraftPlus plugin has been activated on your WordPress site. You can now backup wordpress using this plugin.
STEP 02: Knowing UpdraftPlus
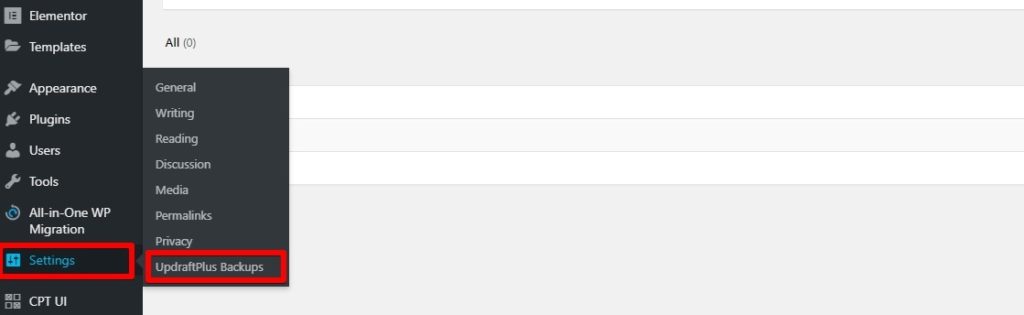
Upon activation, go to Settings. Click on UpdraftPlus Backups page to configure plugin settings as shown in the above screenshot.
You should know your way around UpdraftPlus to work efficiently.
This is the Dashboard of the UpdraftPlus plugin.

Current Status Tab:
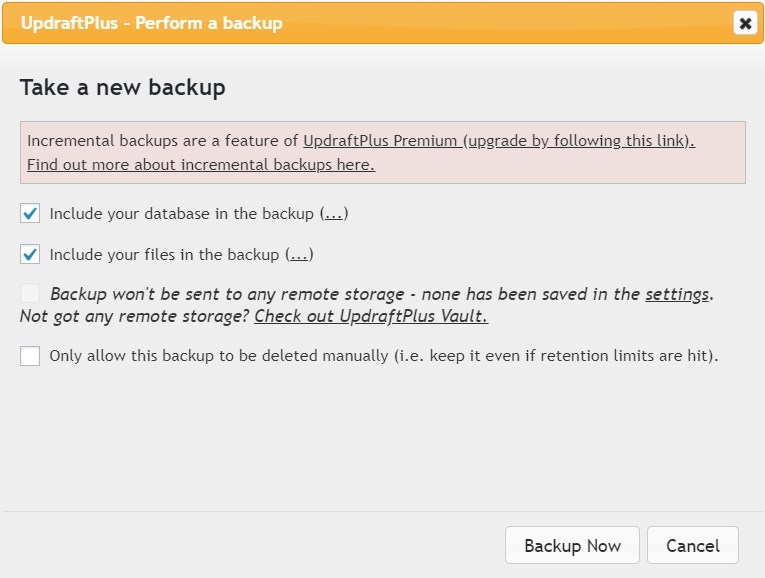
Backup Now:
This button shows a message prompt with two checkboxes for selecting type of backup and where to store it by selecting a remote storage.
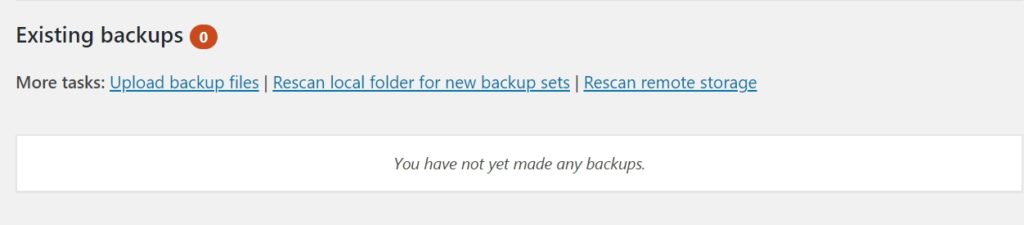
Restore:
Since you don’t have any existing backup, this option will take you to existing Backups. But if you previously had backup wordpress, it can be restored using this button.
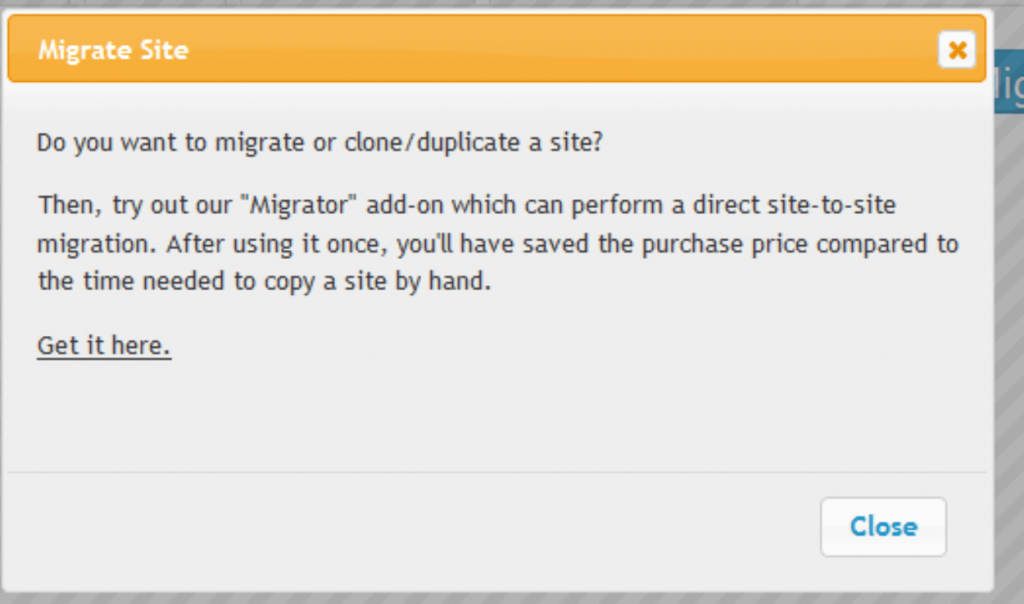
Clone/Migrate:
This premium User options allows you to clone/migrate your WordPress website.
Now close this window and let’s explore further options. In the UpdraftPlus dashboard select the Settings tab and take a closer look at the settings.
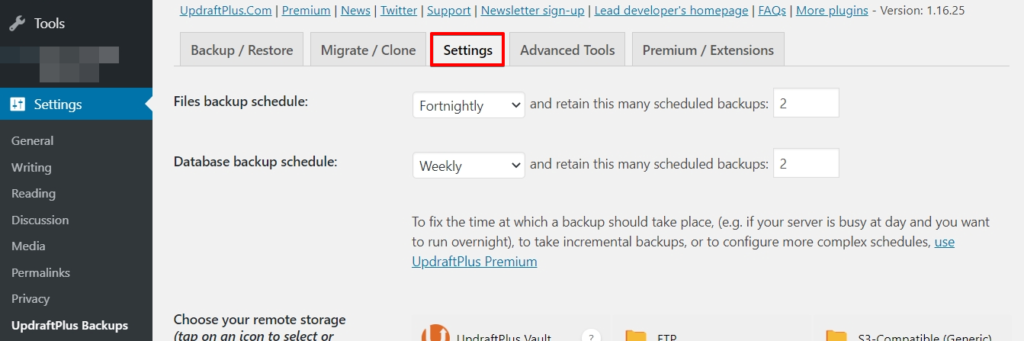
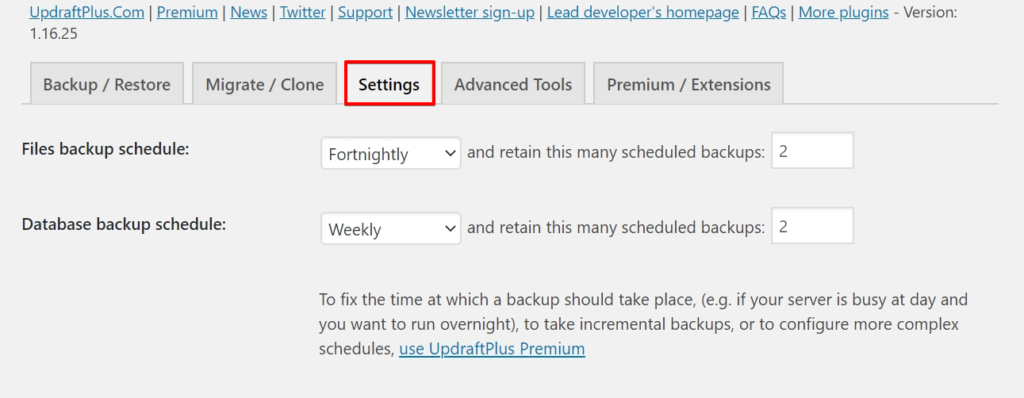
1. Files Backup Schedule and Database Backup Schedule
With these options you can choose to automate the file and database backup in a duration of 4, 8 to 12 hours. Backup either daily or weekly or Fortnightly or monthly schedule.
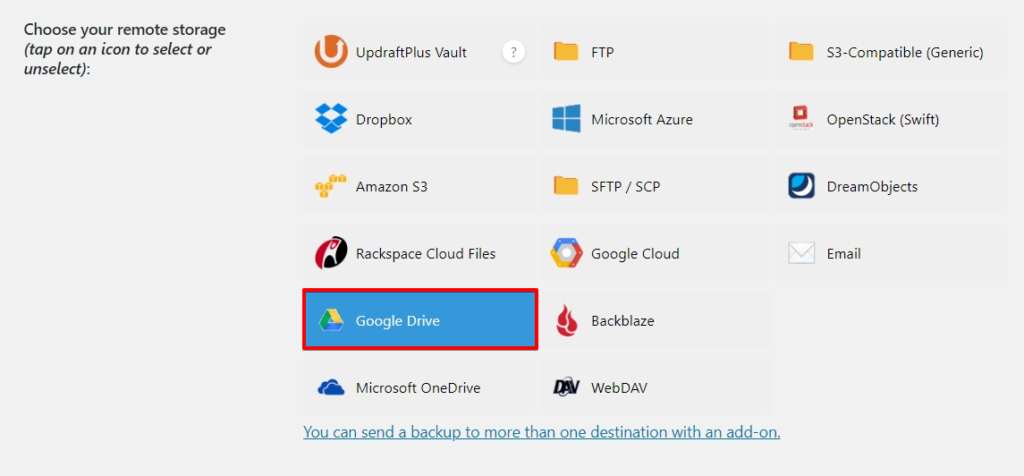
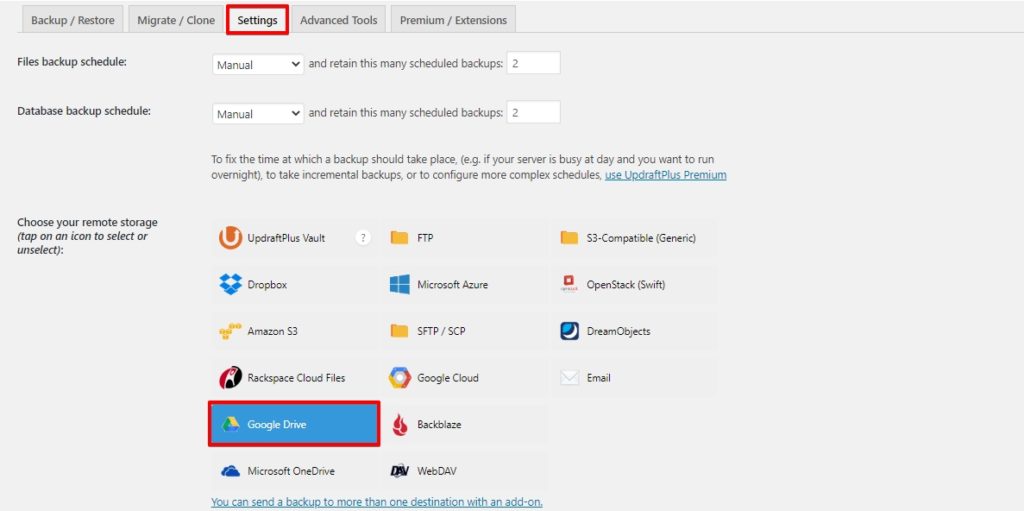
2. Remote Storage
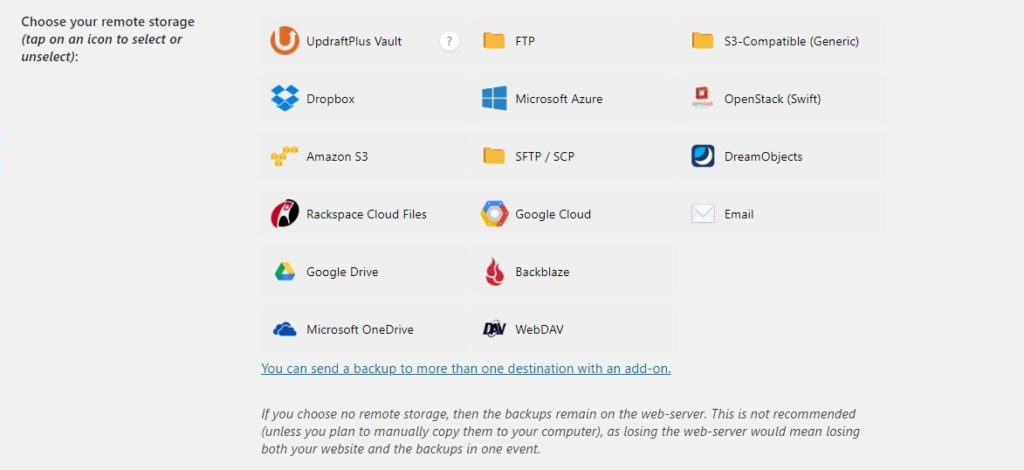
UpdraftPlus provides you multiple ways of saving your backups. Either you can save them to a server, email them to your self, store files on a remote storage or an offline account. You can use a plugin to backup to more than one destinations, namely;
|
|
After selecting your desired service you’ll then connect to it using user names, etc.
If you forego selecting a remote storage location, then the files will be stored on your own server. The major issue with storing files on your server is if the Website crashes those files will be inaccessible at the time of need. They also affect efficiency and speed by taking up the storage space that could otherwise be utilised to help run the server faster.
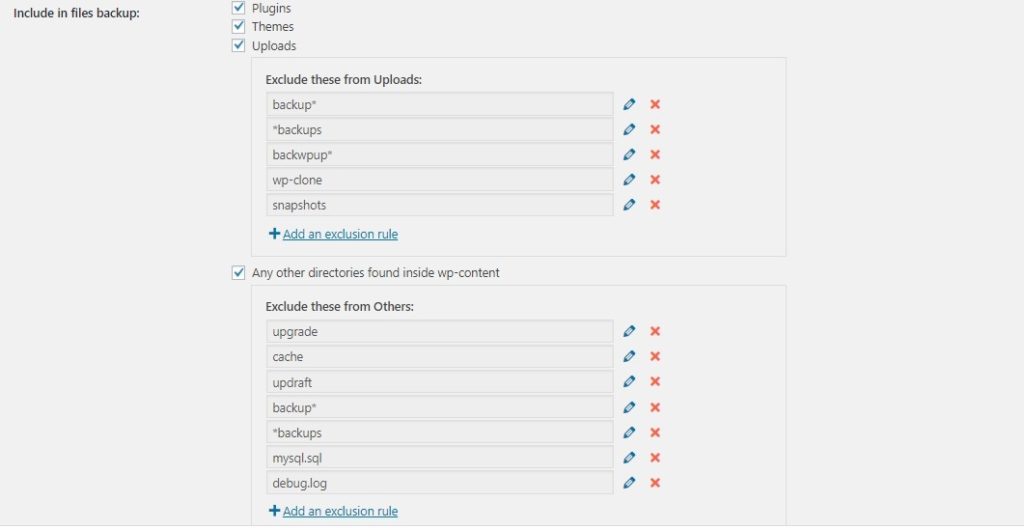
3. Include Files in Backup
These settings enables you to choose the all the file types that will be include in the backup in terms of themes, uploads, plugins and other directories within the wp-content folder. Not only that, you can also exclude a few individual files.
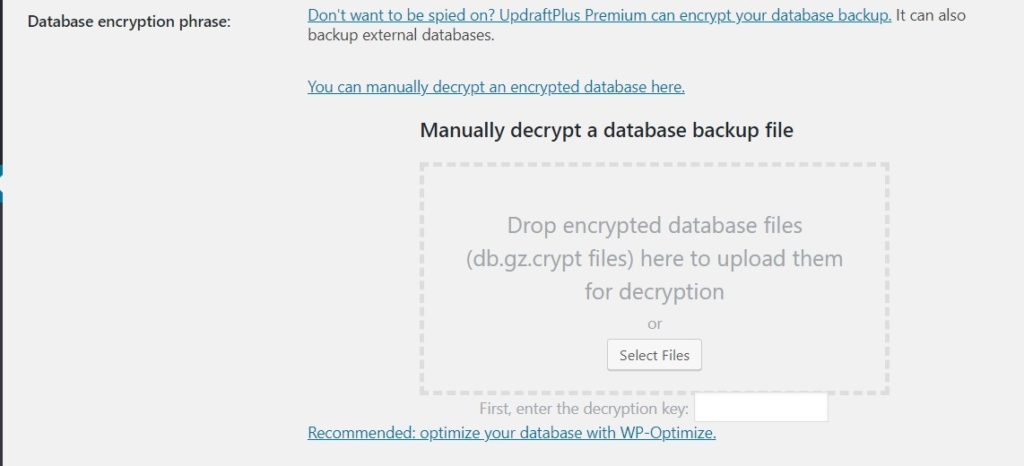
4. Database Encryption Phrase
To improve security you are given the option of decryption. You can decrypt a database. To do so, enter a decryption key and then select the database file to be decrypted.
5. Email
If you like to be informed about your site, UpdraftPlus uses the email section to send you a basic report.

STEP 03: Backup WordPress using UpdraftPlus
There are two ways to backup Wordpress.
- Automatic Backup
- Manual Backup
Moving on to actually backing up WordPress. Open the UpdraftPlus Dashboard.
1. Automatic Backup
Go to Settings, set Files backup to Fortnightly and Database Backup to Weekly schedule.
You’ve now setup a backup schedule.
As my remote backup storage service, I am using Google Drive.
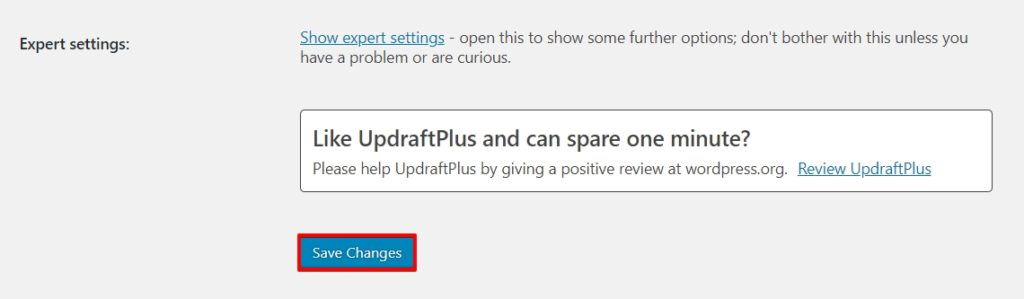
Select Google Drive and go to the bottom of the page to save changes by clicking on the save changes button.Your settings will be saved by UpdraftPlus.
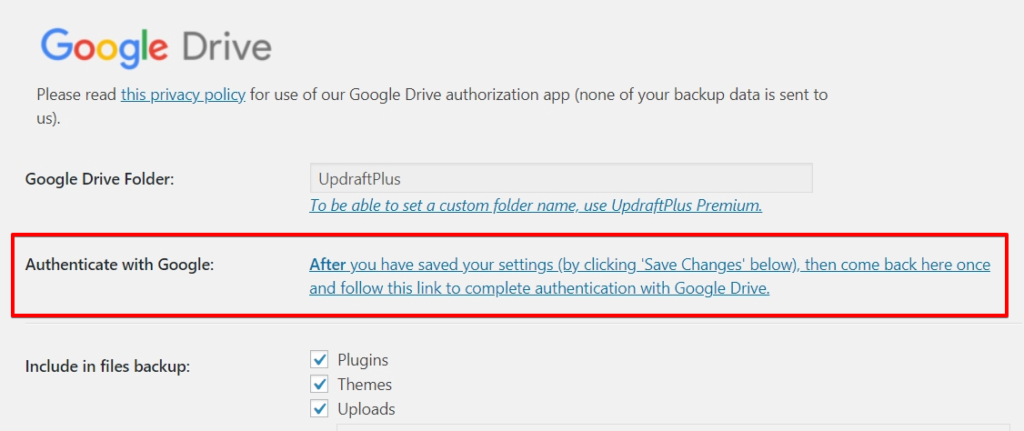
Then give your Google Drive account access to UpdraftPlus.
Navigate down to the instructions about remote storage to click on the link provided
in ‘Authenticate with Google Drive’ option.
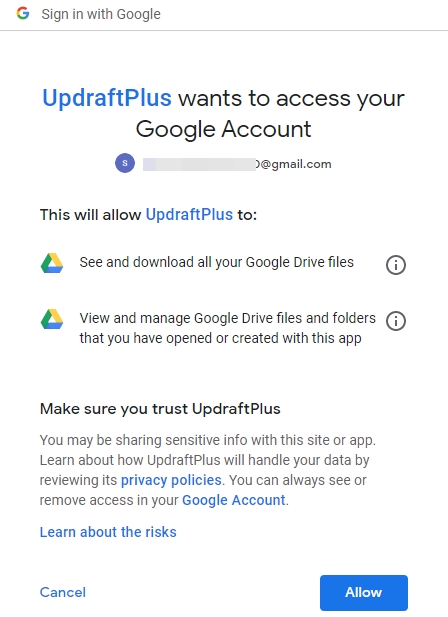
You will be redirected to the login page at the Dropbox website. Sign in using your email and password. Click on Allow when prompted by a message confirming if want your Google Drive account to be accessed by UpdraftPlus.
This will then take you to UpdraftPlus website, click on ‘Complete Setup’. This will finish setup.
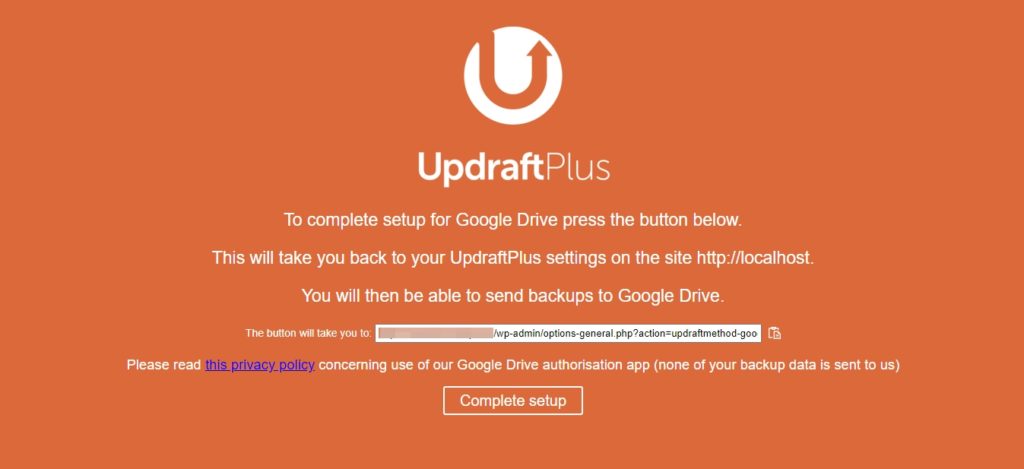
UpdraftPlus will then redirect you to the WordPress site where the UpdraftPlus settings page will be displayed. You now need to save the changes. Scroll down and click on save changes.
You’ve set up a remote storage.
2. Manual Backup
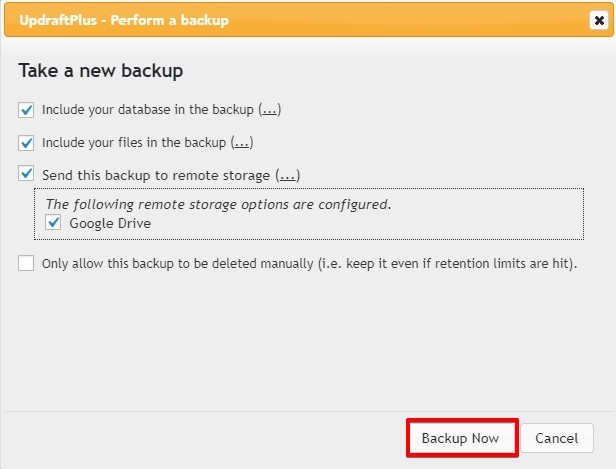
Although UpdraftPlus can automatically backup wordpress according to the schedule setup. While working on the website you may want to save the current progress. For that you can also manually create backups irrespective of the scheduled time. In the UpdraftPlus dashboard, go to Current Status. In the current status tab, click on Backup Now. It will open up a dialogue box, choose to include the database and files, and decide the remote storage. Then Click Backup Now.
The backup will start being created, the progress can be monitored in the settings tab.
Since you have already set up a remote storage it will be automatically saved there. Depending on the size of your website this can take a while to complete.
You have managed to successfully backup wordpress.
If you want to save the backup to your USB or simply want to save it to your computer. Go to Existing Backups, click on the backup you want to download.
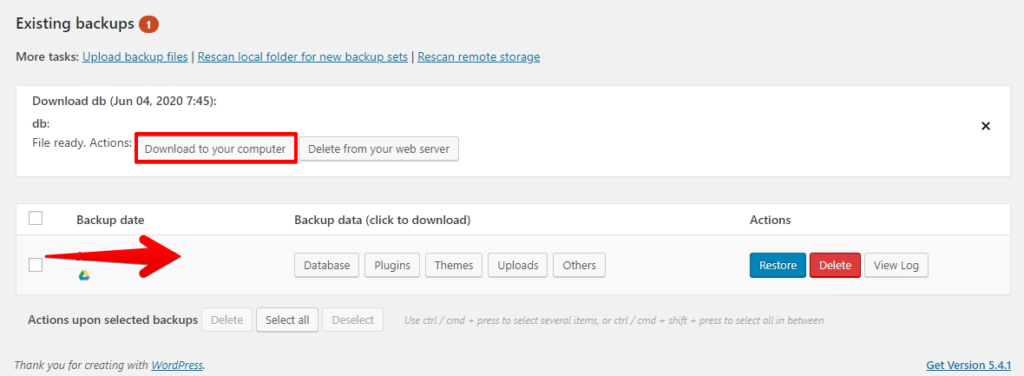
A box will appear above the list of backups. Click on Download to your Computer. The download will start automatically. This is a fail safe way of storing your Backup in case your site itself crashes.
STEP 04: Restore WordPress using UpdraftPlus
We just finished creating backups, which is actually the easy part. The tricky part is when we try to restore the backup. This becomes relatively easy with UpdraftPlus.
Restoration will be required if your site is hacked/or you start from scratch.
For this you will need to delete, uninstall wordpress and then follow the whole installation process from scratch. Then reinstall and using step 01, Activate the UpdraftPlus Again. After activation, go to UpdraftPlus Backups dashboard from Settings.
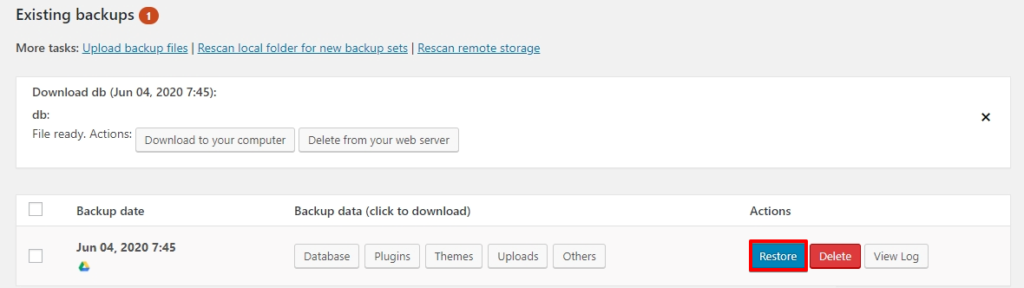
Go to Restore button and click on it.
This will open Existing backups page. Here UpdraftPlus will search for a backup in /wp-content/updraft/ folder. But since you started from scratch. There are no backup files.

You will manually restore the files.
There are multiple ways to Restore your Files:
- Manual Restore
- Restoring from Remote Storage

Hence if you saved backup files offline, you can manually upload and restore them.
To restore from Remote storage, UpdraftPlus needs to connect to a remote location (Google Drive, etc). By going to Settings, choose the remote location you used earlier, which was Dropbox. Follow through all the authentication steps mentioned in step 03.
Save the changes by clicking on Save Changes.
Click on the ‘Rescan remote location’ link by going back to ‘Existing Backups’ tab
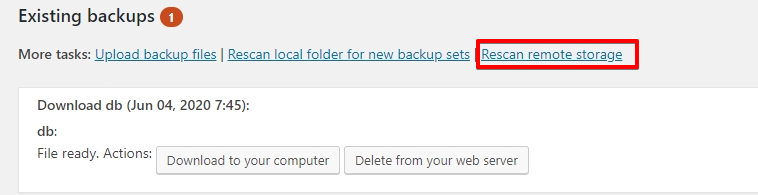
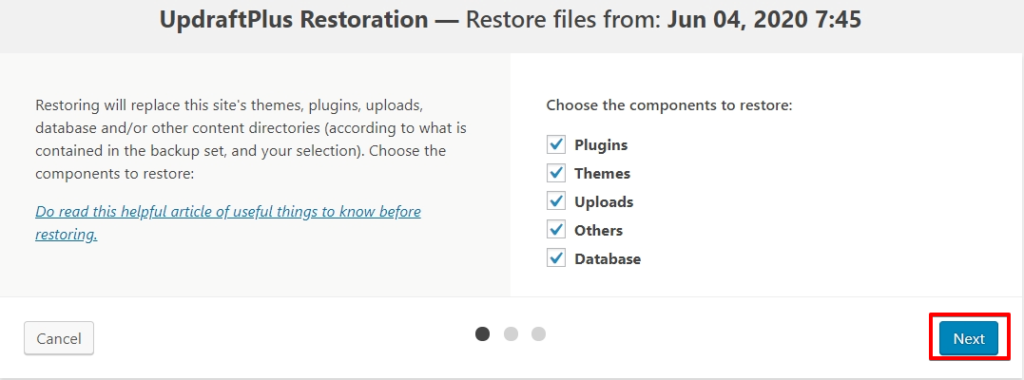
Click on the restore button next to a backup after UpdraftPlus displays them after scanning remote storage for backups. The following window will popup. Make sure you tick all options, finally click on Restore. Your site will start being restored by UpdraftPlus. This will take time depending on the size of the backup.
Tada and you’re done. You’ve successfully managed to backup wordpress and restore it!!
Conclusion
I hope this tutorial to backup Wordpress was easy to follow. If you have any questions I am always here to help. Just drop a comment below. Subscribe for more Tutorials. See you in the Next One! Happy Tech Hunting!


3 comments
furtdso linopv
Some genuinely interesting info , well written and broadly user friendly.
Craig
Great article! I’ve been using WP Migration tool for quick desktop backups, but this is great. I wasn’t aware of Updraft. Going to check it out today. Thank you!