
Are you a beginner and looking to start a blog or make a wonderful website without coding? You can simply do this by using Wordpress. There a a number of available free templates and themes which you can use, you can choose any of them and that’s all it require! No need to go through coding and putting so much time and effort in making a design of your wish. All you need to do is to just install wordpress on your hosting server, create a database, and follow the following steps to install a wordpress theme.
[the_ad id=”180″]
Points to keep in mind before installing a theme!
- You should install the latest version of WordPress since, after each update, WordPress adds some new themes or update the available themes. (see wordpress.org for further information on theme update)
- You can also buy a theme for your blog if you wish to have more dynamic and eye-catching templates for your audiences .(you can buy a theme from ThemeForest )
Keep in mind that once you install a theme for your blog or website, It can be customized as per your wish but if you switch to a new theme , you need to know all the functionalities you have customized in the current theme.
Moreover it is better to keep a track of your website , keep a backup of your blog or website and note down or type down in a document what changes you have made while customizing your blog or website as per your content, since switching from one theme to another may result in a devastating look of your website. But nothing to worry, you can simply look into How to update a WordPress theme to get your website back in structure.
Installing a WordPress theme through Dashboard
Wordpress provides a number of free themes which you can use for your website or blog. You can find these free themes via wordpress.org theme directory or by clicking on Appearance tab in the left panel of the dashboard
[elementor-template id="8247"]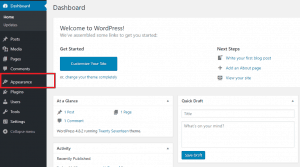
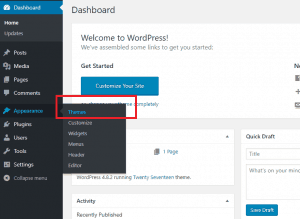
On clicking Appearance, you will see a submenu in which you would find multiple options. Click on themes.
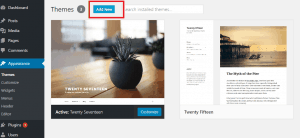
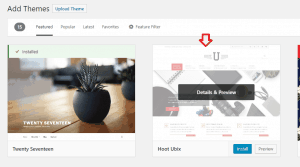
When you click on themes , you will find some pre-installed themes (twenty seventeen in current version), you may activate the pre-installed theme or you may search for other templates of your choice. To add a new theme , click on Add New button as highlighted in the image below
When you click on Add New, you will find thousands of themes that are categorized into multiple categories such as latest themes, featured themes etc. You may filter the theme as per your requirement or search for your desired one.
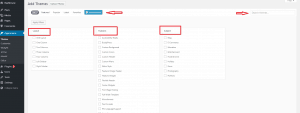
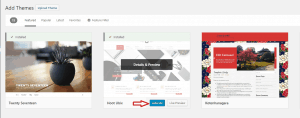
After choosing a theme of your choice, click install as highlighted in the image below.
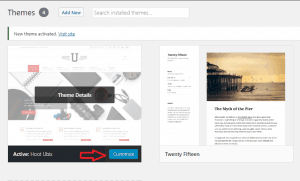
When you finish installing the theme, it’s the time you have to activate the theme since the default theme is twenty seventeen as per current version of wordpress.
Now you are all set to customize your blog, add content, media images, videos, permalinks, menus and much more.
Uploading a Wordpress theme
You may install a free theme from wordpress.org theme directory, but through theme panel , you can only use available themes, hence to use a premium theme, you can go for upload option in wordpress dashboard. These themes comes within various packages allowing you to customize the entire page templates via built in plugins . You can buy premium wordpress themes from various platforms such as Envato, Themeforest, StudioPress etc.
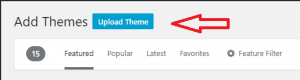
By clicking on Add New button or just click on the ‘+’ icon, to add a new theme as mentioned in the image below.
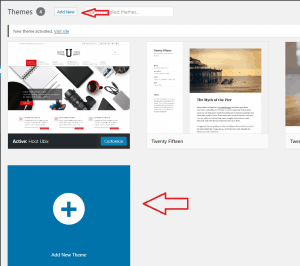
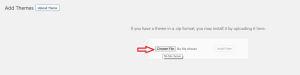
Click on upload button and choose the theme zip file. Remember to use Parent theme and not the child theme. If you are a newbie and have no coding knowledge it’s better to use the parent theme .
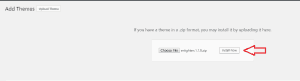
After choosing the zipped file, click on install and when the installation gets finished, click on activate button as described above.

Pin It! 
Pin It!


2 comments